How Printing Inspection Systems Contribute to the Dimensional Inspection of Printed Materials
Table of Contents
One key aspect of maintaining quality is ensuring that the dimensions of printed materials meet exact specifications. A printing inspection system is an essential tool for performing this task with precision, speed, and efficiency. This article will guide you through how to inspect the dimensions of printed materials using printing inspection systems.
Why Printing Inspection Systems are Essential for Dimensional Inspection of Printed Materials
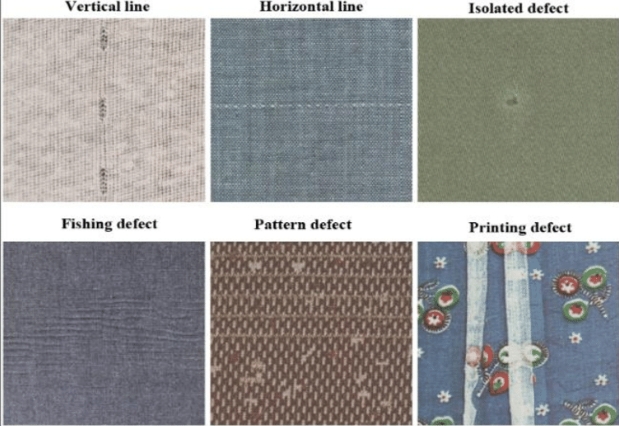
This chart highlights how print inspection systems are essential for ensuring the dimensional accuracy of printed materials in various applications.
| Aspect | Description |
| Definition | A system designed to measure and verify the dimensions of printed materials, ensuring they meet exact specifications during production. |
| Key Components | High-resolution cameras, optical sensors, measurement software, and real-time data analysis tools. |
| Inspection Focus | Monitors dimensions such as width, length, margins, spacing, and alignment of printed features to ensure accuracy. |
| Types of Dimensional Inspections | Checks for alignment, print size, object placement, edge positioning, and consistency of print layout. |
| Common Applications | Used in packaging, labels, brochures, books and other printed products where exact dimensions and layout are critical. |
| Accuracy and Precision | Ensures dimensional tolerances are met with high precision, reducing waste and rework due to errors in printed material sizing or misalignment. |
| Benefits for Manufacturers | Increases production speed, improving product quality, reducing costs related to waste and defects and maintaining high standards in printed material specifications. |
Key Steps for Dimensional Inspection of Printed Materials Using Printing Inspection Systems
1. Setting Up the Printing Inspection System
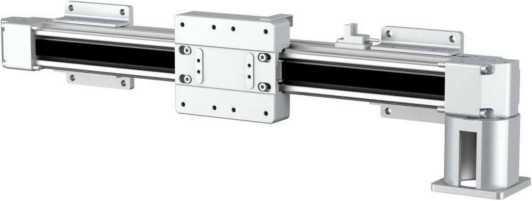
Before you start inspecting the dimensions of printed materials, it is essential to properly set up the printing inspection system. The following steps are crucial:
- Calibration: Ensure that the system is correctly calibrated for the materials you will inspect. Calibration involves setting the correct parameters, such as resolution, light intensity, and measurement units (e.g., millimeters or inches).
- Defining Specifications: Input the dimensional specifications of the printed materials into the system. This includes length, width, thickness, and any tolerances allowed for deviations. Many systems allow you to upload CAD drawings or templates to define these standards.
- Positioning: Align the printed materials properly within the inspection system. The material should be placed in a way that allows the system to scan all dimensions accurately.
2. Real-Time Dimensional Monitoring
Once the system is set up, it performs real-time dimensional monitoring during the printing process.
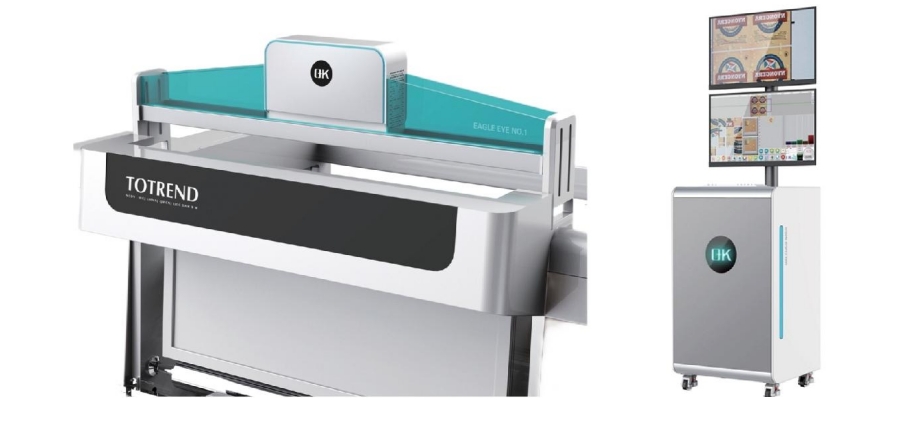
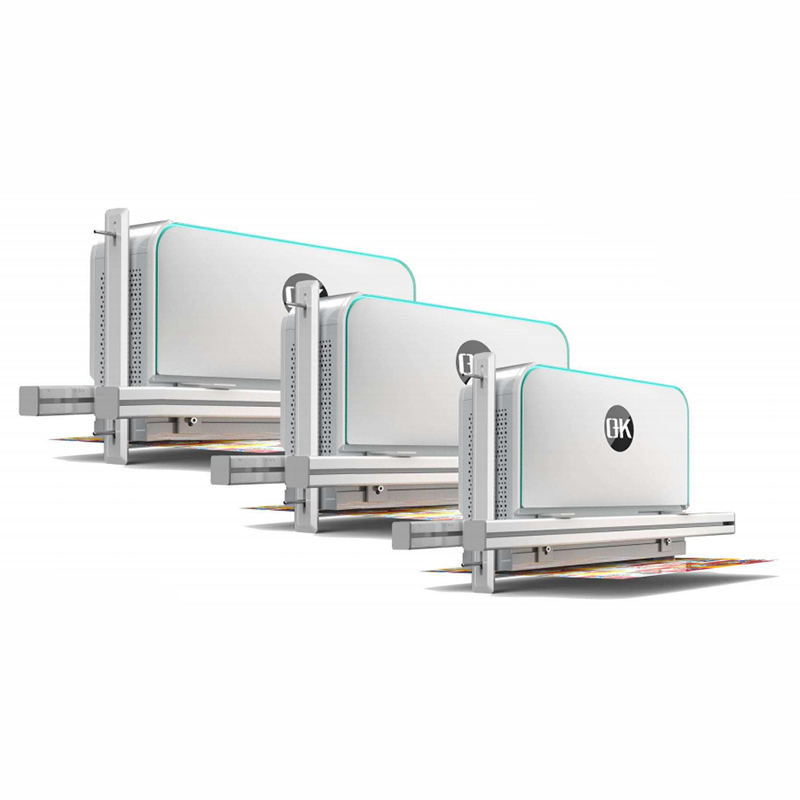
- High-Resolution Cameras: The cameras capture images of the printed material as it moves along the production line. These images are analyzed for dimensional accuracy against predefined specifications.
- Edge Detection Algorithms: The system uses sophisticated edge detection algorithms to measure the length, width, and alignment of the printed material. These algorithms detect and highlight any deviations in the dimensions.
- Automated Measurement: The print quality inspection system can automatically measure the dimensions of both simple and complex shapes, including packaging cutouts, labels, or intricate designs. It provides precise measurements within fractions of a millimeter, ensuring high accuracy.
3. Comparing Dimensions Against Specifications
After capturing and analyzing the images, the printing inspection system compares the measured dimensions with the predefined specifications. This comparison is done in real-time, allowing for immediate identification of any dimensional errors. The system will flag any deviations that exceed the set tolerances, such as:
- Oversized or Undersized Materials: If the length or width of the printed material falls outside of the acceptable range, the system will alert the operator.
- Misalignment: The system can detect any misalignment in the printed materials that might lead to uneven edges or incorrect folding in packaging applications.
- Thickness Variations: Some advanced inspection systems also measure the thickness of printed materials, especially important for packaging materials that must maintain uniformity in structure.
4. Correcting Dimensional Errors
When the system identifies a dimensional error, it can automatically halt the production line or alert the operator to take corrective action. Depending on the system’s capabilities, adjustments can be made directly on the line or during post-production.
- Adjust Machine Settings: Modify the printing press settings to ensure proper material alignment and dimensional consistency.
- Replace Defective Materials: Remove and replace any printed materials that do not meet the dimensional standards.
- Recalibrate the System: If necessary, recalibrate the inspection system to account for any shifts in production conditions, such as temperature changes or wear on the equipment.
5. Data Recording and Reporting
One of the significant advantages of using a printing inspection system is its ability to store and analyze data. The system logs every inspection, allowing operators to review and analyze trends in dimensional accuracy. This data can be used for:
- Quality Control Reports: The system generates detailed reports of all inspections, highlighting any deviations and the actions taken to correct them. These reports are valuable for maintaining quality control and improving future production runs.
- Production Optimization: By identifying trends in dimensional errors, the data can help operators make informed decisions about optimizing production processes and reducing future defects.
6. Post-Production Inspection
While real-time monitoring is highly effective, some industries also perform post-production dimensional inspection to ensure final products meet all specifications. In this case, the printing inspection system scans finished goods to ensure they are within the dimensional tolerances before they are shipped to customers.
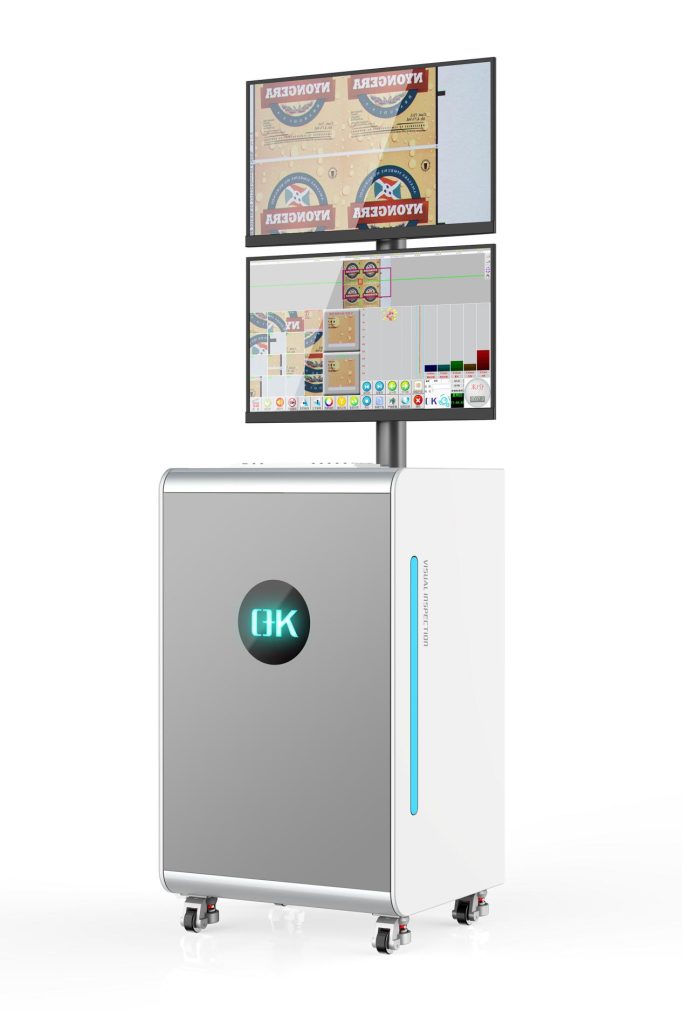
In summary, with real-time monitoring, automatic comparison against specifications and data-driven insights, printing inspection systems play a critical role in maintaining high-quality standards in industries such as packaging, labeling, and commercial printing, providing a modern solution that ensures accuracy, efficiency, and cost-effectiveness in production.
